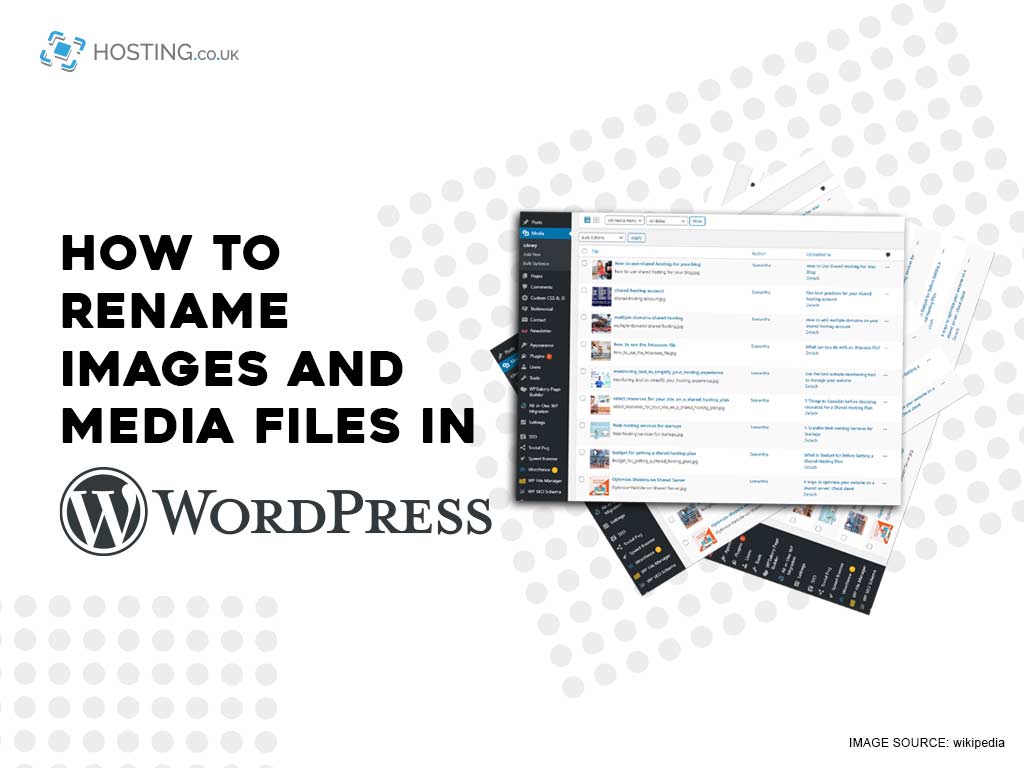
An easy SEO hack to use on your WordPress site is to change the name of image files and other media hosted on your blog. If you own a website you know the importance of ensuring optimal Search Engine Optimisation so that big-name search engines like Google index your site and serves it up to new users when they search for things via keywords.
While WordPress allows modification of alt-text and captions on image and media files, changing the actual file name isn’t something you can do from the admin area in WordPress.
Have you ever wanted to know how to change the name of images? If you haven’t but you’re now intrigued we’ve created this guide to help you understand the benefit of changing image and media file names in WordPress, how they help your SEO and two methods of doing it.
Let’s dive right in.
Table of Contents
Why Bother Renaming Image and Media Files on WordPress?
The short answer is that it will boost your SEO and enable users to find your website much easier in search engines. Taking the time to rename your images and media files will bring more traffic to your website.
However, they differ from the text, search engines and would-be customers need help and the way to do that is through proper descriptors of your original images, stock photos, and other media files you choose to showcase on your website. It’s an SEO game-changer.
Giving your images and other media files a meaningful name with highly searched keywords will boost your SEO and help search engines serve your website to users. For example, an image file with the name like paris-skyline.png is more helpful to both search engines and users alike than DSC00899.jpg.
Sounds easy enough right? The problem is a lot of users upload images directly from their mobile devices or cameras. Some users download images from other sources like free stock photo sites and tend to forget to rename them before uploading to their website.
Sure, you can change the alt-text of photos and you should definitely do this and add keywords to your descriptions but once you’ve uploaded images to WordPress, there is no default option to rename those images or media files.
So, how can you rename these images and gain the SEO benefit that comes with it? Let’s take a look at the easiest way to rename media files and images in WordPress.
Renaming Images and Media Files in WordPress
The first method we’ll discuss does not allow for automation in changing the image file name in WordPress. However, this will allow you to manually change the filename of an image inside the WordPress administrative area.
Access Media to update names
First, go to the Media > Library. Display your media library in the list view for ease of operations.
More importantly, it allows you to view details for each media file including the file name. Following, click the ‘Edit’ link below the media or image file and then rename it.
Your image will open in the WordPress media editing screen. There you can edit details of an image like the Alt tag, caption, and more. To change the name, scroll to the bottom and you’ll see the field to edit the file name. Simple.
It’s best practice to use a keyword-focused, meaningful and brand-focused name that describes the image. Use all lowercase letters and dashes between each word. Once that’s done click ‘Update’ to save your changes.
Voila! You’ve successfully renamed an image or media file within the WordPress admin area. The plugin will update the file name if you have used the image in a post or on another page.
Replace Image and Media Files in WordPress
An alternative method you can use is to download the file to your computer and rename it there. If you are uploading your own media from your hard drive simply rename all files before uploading to WordPress.
Simply download, rename and then replace the original file on your website with the new version by using a plugin.
How it works
Download, install and activate the plugin Enable Media Replace. Then, visit Media > Library page, and change the grid-view to the list view to see more details of the files.
There will now be a ‘Replace Media’ link under each file in the list view of the Media library. Click on the link to be taken to the replace media page.
First, choose the file from your computer for uploading to replace the old file. Be sure you’ve already changed the name of the original file on your computer with a keyword-rich name that describes the image.
Once you’ve completed that step, scroll down for more options. Under the replacement option, choose to just replace a file with the newly renamed version or replace all the links. We recommend the second option if you’ve added that file to various posts and pages to WordPress.
You’ll be given the option to keep the old date or use the new date. The final step, click ‘Upload’ to replace the old picture or media with the newly renamed file packed with an SEO keyword.
That’s it! You’ve successfully learned how to change image and media files in WordPress or on your computer.
Summary
We hoped you’ve found merit in this article and will use the techniques discussed to give you a better edge SEO wise.
It’s imperative to use any SEO hacks you can to ensure that your website continues to receive a daily influx of organic traffic from search engines like Google, Bing and more. When it comes to media files on your website, beyond having them labelled with SEO rich keywords, you also want to ensure they are compressed, minimised and optimised to ensure a fast loading site.
